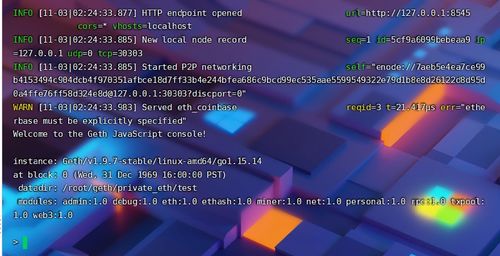
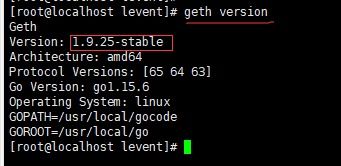
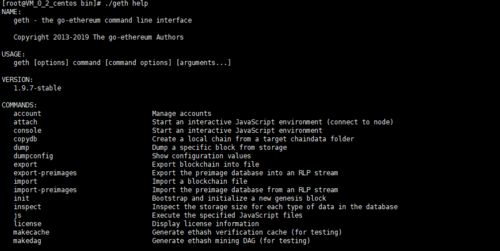
亲爱的技术探索者,你是否对区块链技术充满好奇,想要亲手搭建一个以太坊私有链来感受一下去中心化的魅力?别急,今天我要带你一起走进CentOS的世界,手把手教你如何部署一个以太坊私有链。准备好了吗?让我们开始这场技术之旅吧!
一、CentOS环境搭建

首先,你需要一台运行CentOS操作系统的服务器。这里以CentOS 7为例,因为它是目前最流行的Linux发行版之一。以下是搭建CentOS环境的步骤:
1. 安装CentOS:从官方网站下载CentOS 7镜像,使用虚拟机软件(如VMware)创建虚拟机,选择安装CentOS 7。
2. 更新系统:登录系统后,使用以下命令更新系统:
```
sudo yum update -y
```
3. 安装依赖:以太坊私有链的搭建需要一些依赖库,使用以下命令安装:
```
sudo yum install -y git wget bzip2 vim gcc-c++ epel-release nodejs cmake
```
4. 安装Golang:以太坊客户端是用Golang编写的,所以需要安装Golang。以下是安装步骤:
```
sudo wget https://dl.google.com/go/go1.10.3.linux-amd64.tar.gz
sudo tar -C /usr/local -zxvf go1.10.3.linux-amd64.tar.gz
echo 'export PATH=$PATH:/usr/local/go/bin' >> ~/.bash_profile
source ~/.bash_profile
```
5. 安装Git:Git用于克隆以太坊源代码,使用以下命令安装:
```
sudo yum install -y git
```
现在,CentOS环境搭建完成,我们可以开始搭建以太坊私有链了。
二、下载与编译以太坊客户端

1. 克隆以太坊源代码:使用以下命令克隆以太坊源代码:
```
git clone https://github.com/ethereum/go-ethereum.git
cd go-ethereum
```
2. 编译以太坊客户端:使用以下命令编译以太坊客户端:
```
make geth
```
编译成功后,会在`go-ethereum/build/bin`目录下生成`geth`执行文件。
三、创建创世区块

1. 创建私有链目录:在`/root`目录下创建一个名为`testnet`的目录,用于存储私有链数据:
```
sudo mkdir /root/testnet
```
2. 创建创世区块文件:在`/root/testnet`目录下创建一个名为`genesis.json`的文件,内容如下:
```json
{
\config\: {
\chainId\: 15,
\homesteadBlock\: 0,
\eip155Block\: 0,
\eip158Block\: 0
},
\alloc\: {},
\coinbase\: \0x0000000000000000000000000000000000000000\,
\difficulty\: \0x20000\,
\extraData\: \\,
\gasLimit\: \0x2fefd8\,
\nonce\: \0x0000000000000042\,
\mixhash\: \0x0000000000000000000000000000000000000000000000000000000000000000\,
\parentHash\: \0x0000000000000000000000000000000000000000000000000000000000000000\,
\timestamp\: \0x00\
}
```
3. 初始化私有链:使用以下命令初始化私有链:
```
cd go-ethereum/build/bin
geth --datadir /root/testnet init /root/testnet/genesis.json
```
现在,创世区块已经创建完成,接下来我们要启动私有链。
四、启动以太坊私有链
1. 启动私有链节点:使用以下命令启动私有链节点:
```
cd go-ethereum/build/bin
geth --datadir /root/testnet --networkid 15 --nodiscover --rpc --rpcaddr 0.0.0.0 --rpcport 8545 --port 30303
```
2. 连接到私有链:使用Web3.js或其他以太坊客户端连接到私有链。以下是一个简单的Web3.js示例:
```javascript
const Web3 = require('web3');
const web3 = new Web3(new Web3.providers.HttpProvider('http://localhost:8545'));
web3.eth.getBlockNumber().then(console.log);
```
现在,你已经成功搭建了一个以太坊私有链,可以开始你的区块链之旅了!
五、
通过本文,
